Every website owner eventually faces the same dilemma: you need to update a plugin, fix a bug, or revamp your design, but you don’t want visitors to see a broken website while you work. This is exactly where WordPress maintenance mode comes into play.
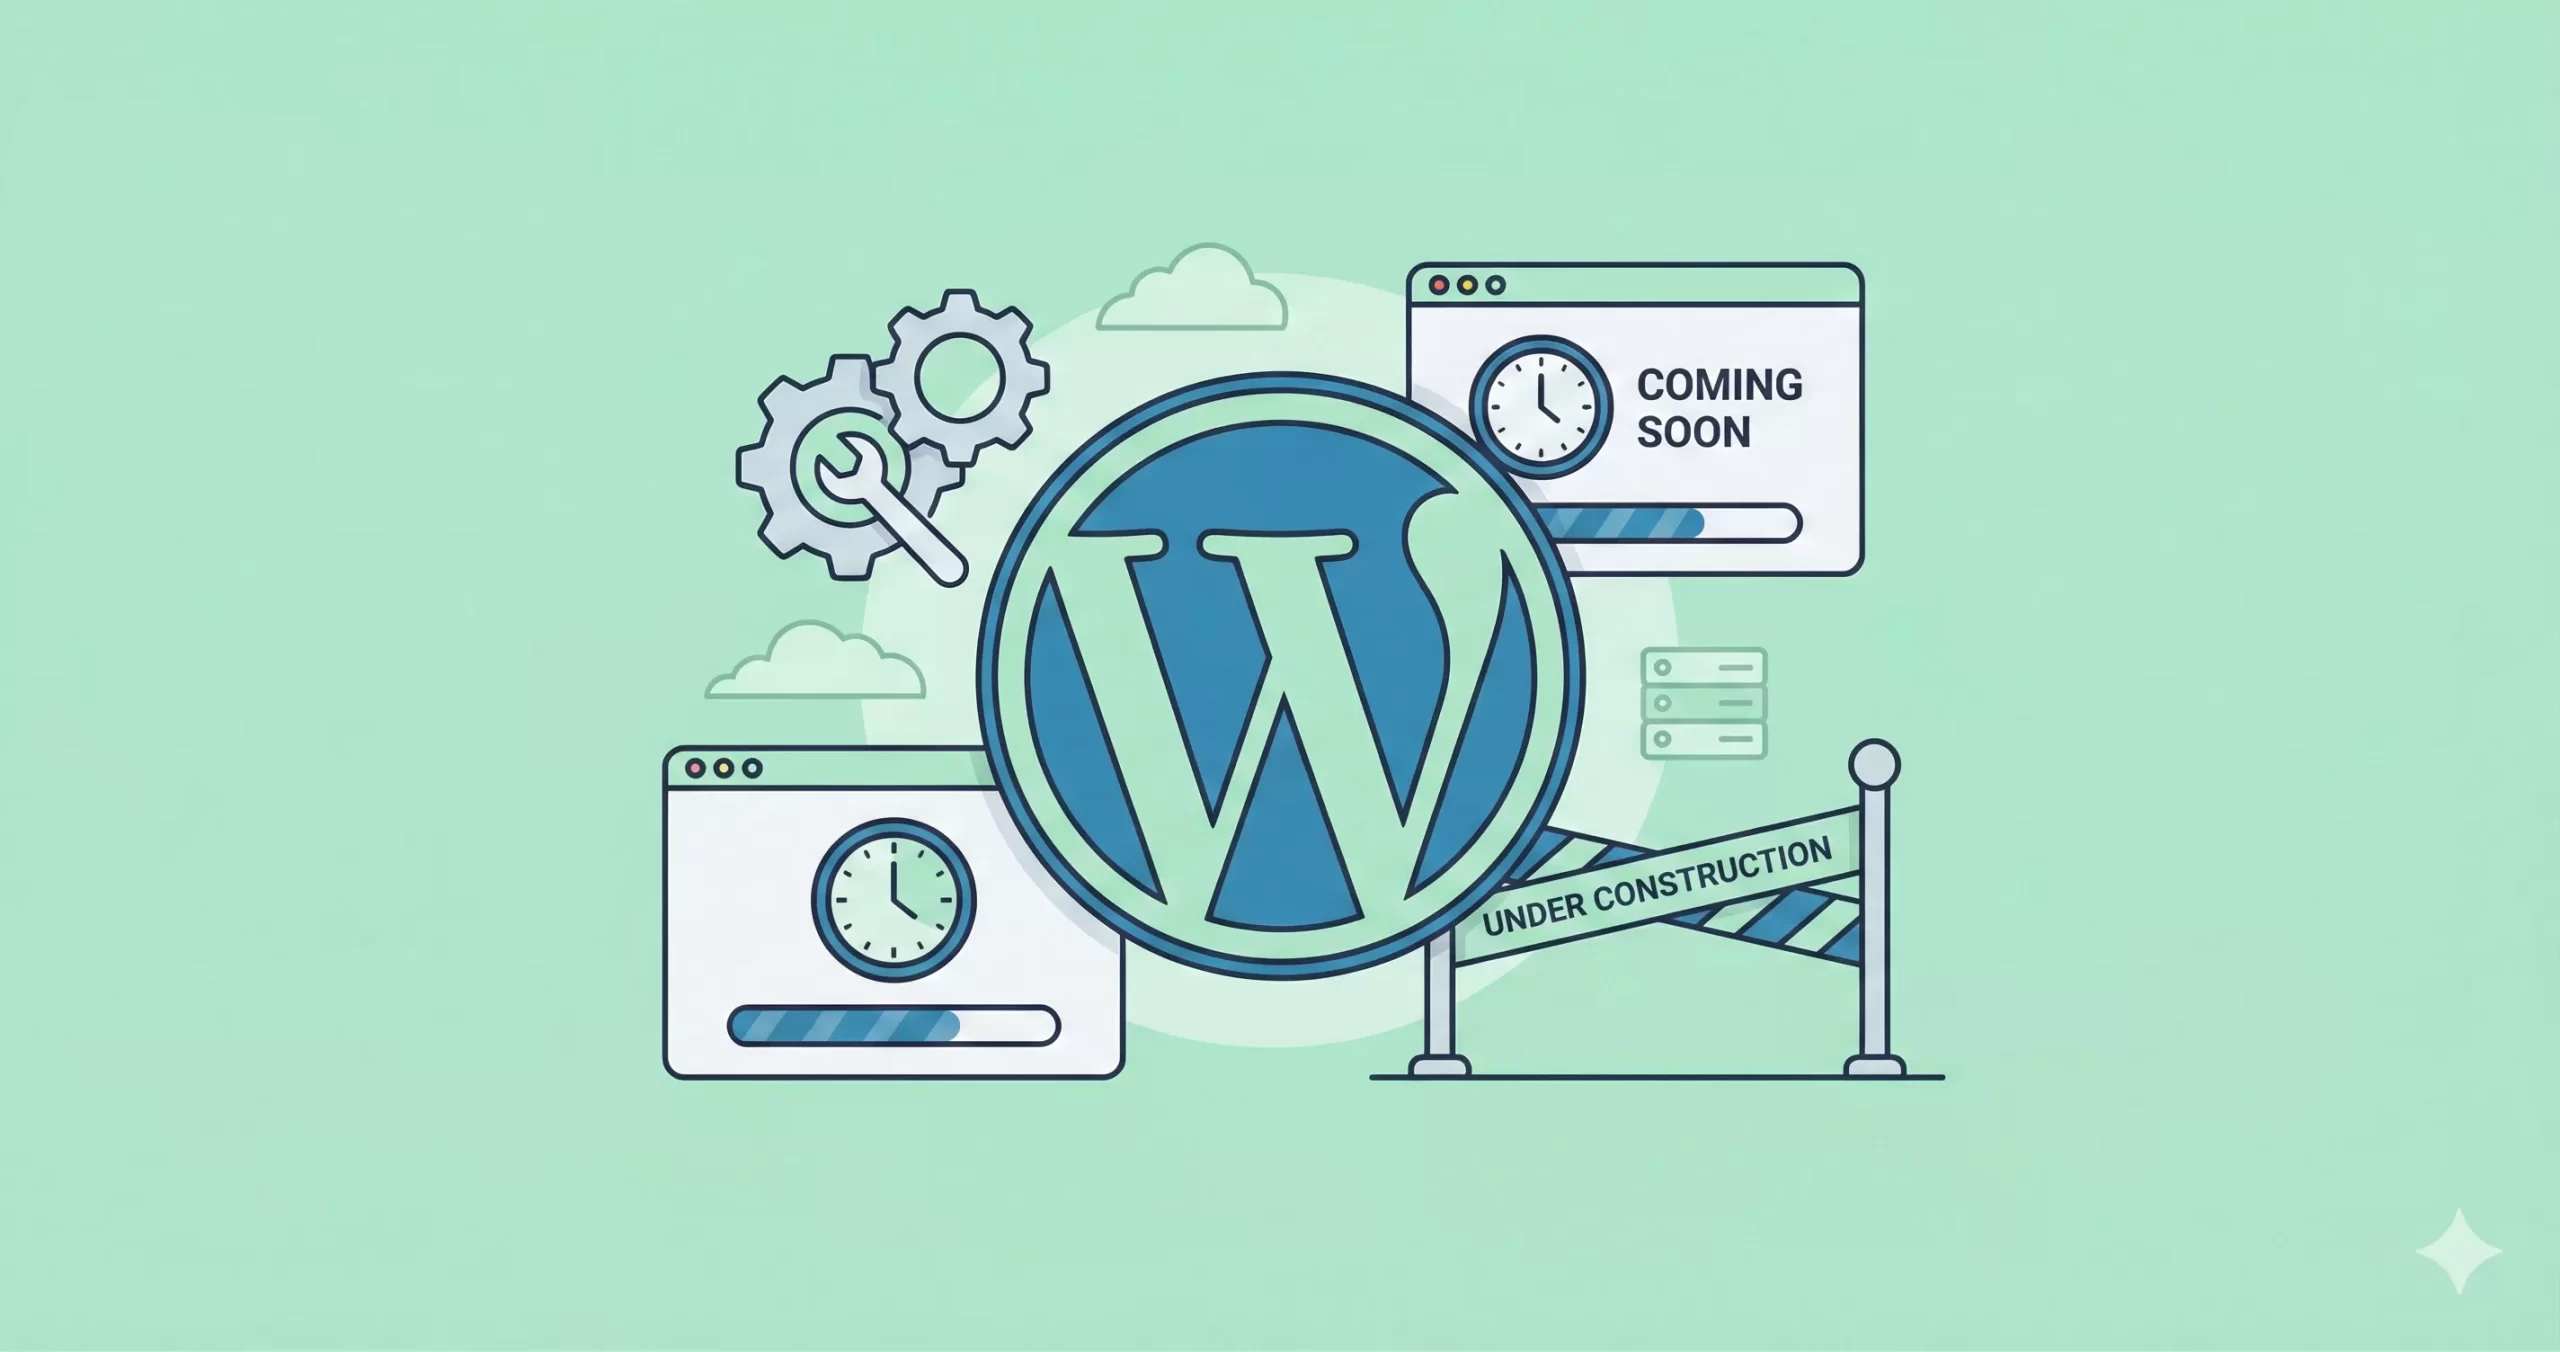
Think of it as a digital “Under Construction” sign. It tells search engines to hold off on crawling your site for a moment and politely informs your human visitors that you will be back shortly. Ignoring this step can lead to a poor user experience or, worse, SEO penalties if Google bots encounter broken pages.
The Complete Guide to Enable WordPress Maintenance Mode
In this WordPress maintenance mode guide, we will dive deep into the two most effective ways to handle this: the “easy” route using a free plugin, and the “developer” route using a lightweight custom code snippet. Whether you are a beginner or a code enthusiast, we have got you covered.
Why is Maintenance Mode Critical?
Before we jump into the “how-to,” let’s briefly touch on the “why.” You might think, “I’ll just be quick, nobody will notice.” However, enabling WordPress maintenance mode is about professionalism and safety.
Here are the core reasons to use it:
- User Experience (UX): A broken site looks unprofessional. A maintenance page looks planned and controlled.
- Security: If you are patching a vulnerability, you don’t want traffic hitting that vulnerability while you are working on it.
- SEO Protection: If a search engine crawls your site while it is broken, it might index error pages. A proper maintenance mode sends a “503 Service Unavailable” status code, which tells Google, “We are just on a break, come back later.”
You might also like:
Method 1: Using a Free Plugin (The Beginner Friendly Way)
If you are not comfortable editing theme files, using a plugin is a safe bet. There are many great options in the repository, such as LightStart (formerly WP Maintenance Mode) or SeedProd. For this tutorial, we will focus on a generic workflow that applies to most of these plugins.
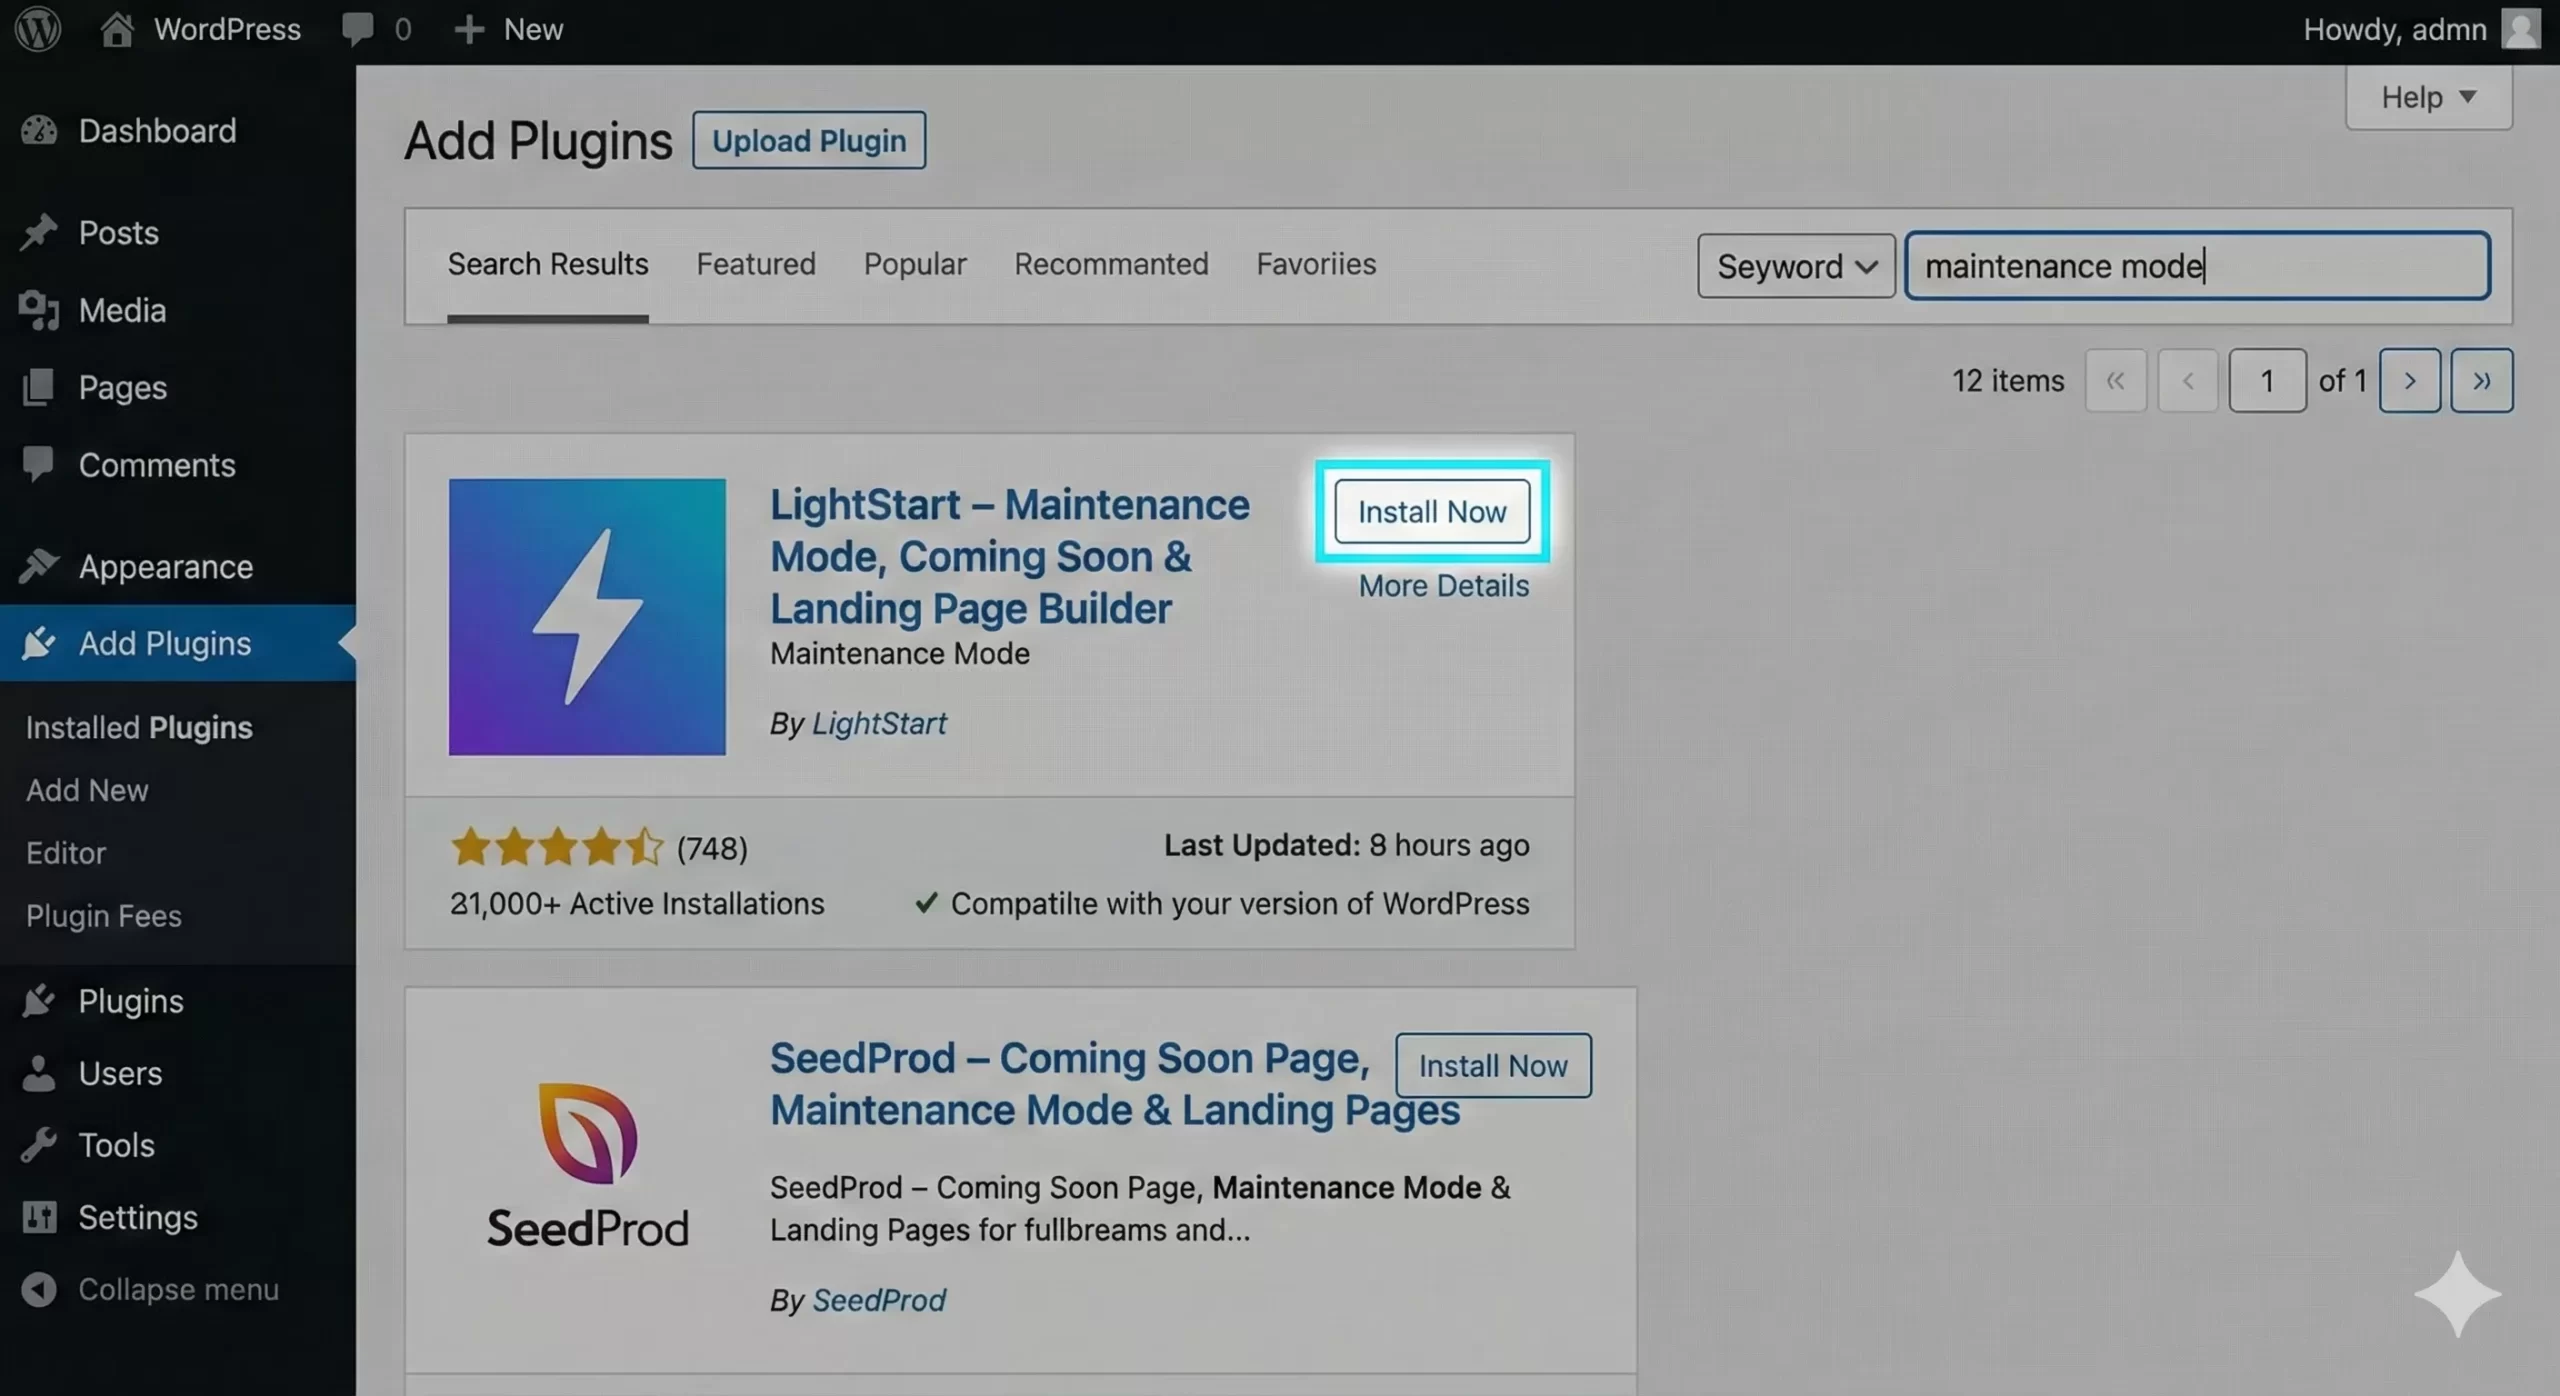
Step 1: Install and Activate
Navigate to your WordPress dashboard, go to Plugins > Add New, and search for “Maintenance Mode.” Install your plugin of choice and activate it.
Step 2: Configure the Settings
Most plugins will add a tab to your dashboard sidebar. Click on it to open the settings. You will usually find a simple “Status” toggle. Switch it to Activated.
Step 3: Customize Your Page
This is the fun part. You can add your logo, a background image, and a custom message. Some plugins even allow you to collect emails while you are offline. Once you save your changes, your WordPress maintenance mode is live.
Must Read: The Ultimate Guide to the WordPress Transients API : Boost Your Site Speed
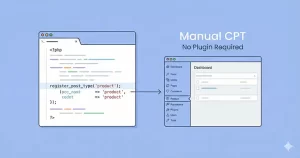
Method 2: The “PixelNet” Way (Custom Code)
At PixelNet, we prefer keeping our WordPress installations lean. Plugins are great, but they often come with bloat—extra CSS, JavaScript, and database entries that you don’t really need for a simple task.
If you are comfortable pasting a small snippet into your functions.php file, or a custom site-specific plugin (recommended) this method is faster and gives you total control.
The Custom Code Snippet
We will create a function using the pnet_ prefix to ensure it doesn’t conflict with other themes or plugins. This code checks if the user is an administrator. If they are not, it stops the site from loading and displays a maintenance message.
Add the following code to your theme’s functions.php file or a site-specific plugin:
function pnet_maintenance_mode() {
    if ( !current_user_can( 'edit_themes' ) || !is_user_logged_in() ) {
        // Just in case, tell search engines we are temporarily unavailable (503 status)
        header('HTTP/1.1 503 Service Unavailable');
        header('Retry-After: 3600');

        // Load the specialized WP die screen
        wp_die(
            '<h1>Under Maintenance</h1><p>We are currently performing scheduled maintenance. Please check back in an hour.</p>',
            'Maintenance Mode',
            array( 'response' => 503 )
        );
    }
}
add_action( 'get_header', 'pnet_maintenance_mode' );
Code Explanation
Let’s break down what is happening here:
current_user_can( 'edit_themes' ): This ensures that you (the admin) can still see the website and work on it, while everyone else sees the maintenance page.header('HTTP/1.1 503 Service Unavailable'): This is crucial for SEO. It tells Google bots not to de-index your site.wp_die(): This is a standard WordPress function used to kill the execution of the script and display an HTML message. You can read more about the parameters of this function on the official WordPress Developer Resources page.
You might also like:
Advanced Styling for the Code Method
The code above uses the default WordPress error message styling, which is a grey background with a white box. It is clean, but you might want it to look more like your brand. To do this, we can inject some inline CSS directly into the wp_die message.
Here is an upgraded version of our WordPress maintenance mode function with styling included:
function pnet_styled_maintenance_mode() {
    if ( !current_user_can( 'edit_themes' ) || !is_user_logged_in() ) {

        $message = '
            <div style="text-align: center; padding-top: 50px; font-family: sans-serif;">
                <h1 style="color: #d35400;">We Are Updating!</h1>
                <p style="font-size: 18px; color: #555;">
                    PixelNet is currently undergoing necessary upgrades to serve you better.
                    <br>We will be back online shortly.
                </p>
            </div>
        ';

        header('HTTP/1.1 503 Service Unavailable');
        header('Retry-After: 3600');

        wp_die( $message, 'Maintenance Mode', array( 'response' => 503 ) );
    }
}
add_action( 'get_header', 'pnet_styled_maintenance_mode' );
When Should You Enable Maintenance Mode?
You don’t need to turn this on for every little tweak. Here are the specific scenarios where it is recommended:
1. Major Core Updates
While minor WordPress updates usually run in the background without issues, major version jumps (e.g., 6.4 to 6.5) can sometimes cause conflicts. It is safer to enable WordPress maintenance mode before hitting that update button.
2. Changing Themes
Switching themes is messy. Widgets get displaced, menus disappear, and image sizes might be wrong. Always hide the site while you reconfigure the new layout.
3. database Migrations
If you are moving your site to a new server or changing the database prefix, you absolutely must stop users from writing to the database (like posting comments or buying products) during the transfer.
Troubleshooting: Stuck in Maintenance Mode?
Sometimes, things go wrong. A common issue is getting stuck in “Maintenance Mode” even after you have finished your updates. This usually happens if a WordPress update times out halfway through.
WordPress creates a temporary file named .maintenance in your root directory during updates. If your site is stuck:
- Connect to your site via FTP or File Manager.
- Navigate to the root folder (usually
public_html). - Look for a file named
.maintenance. - Delete it.
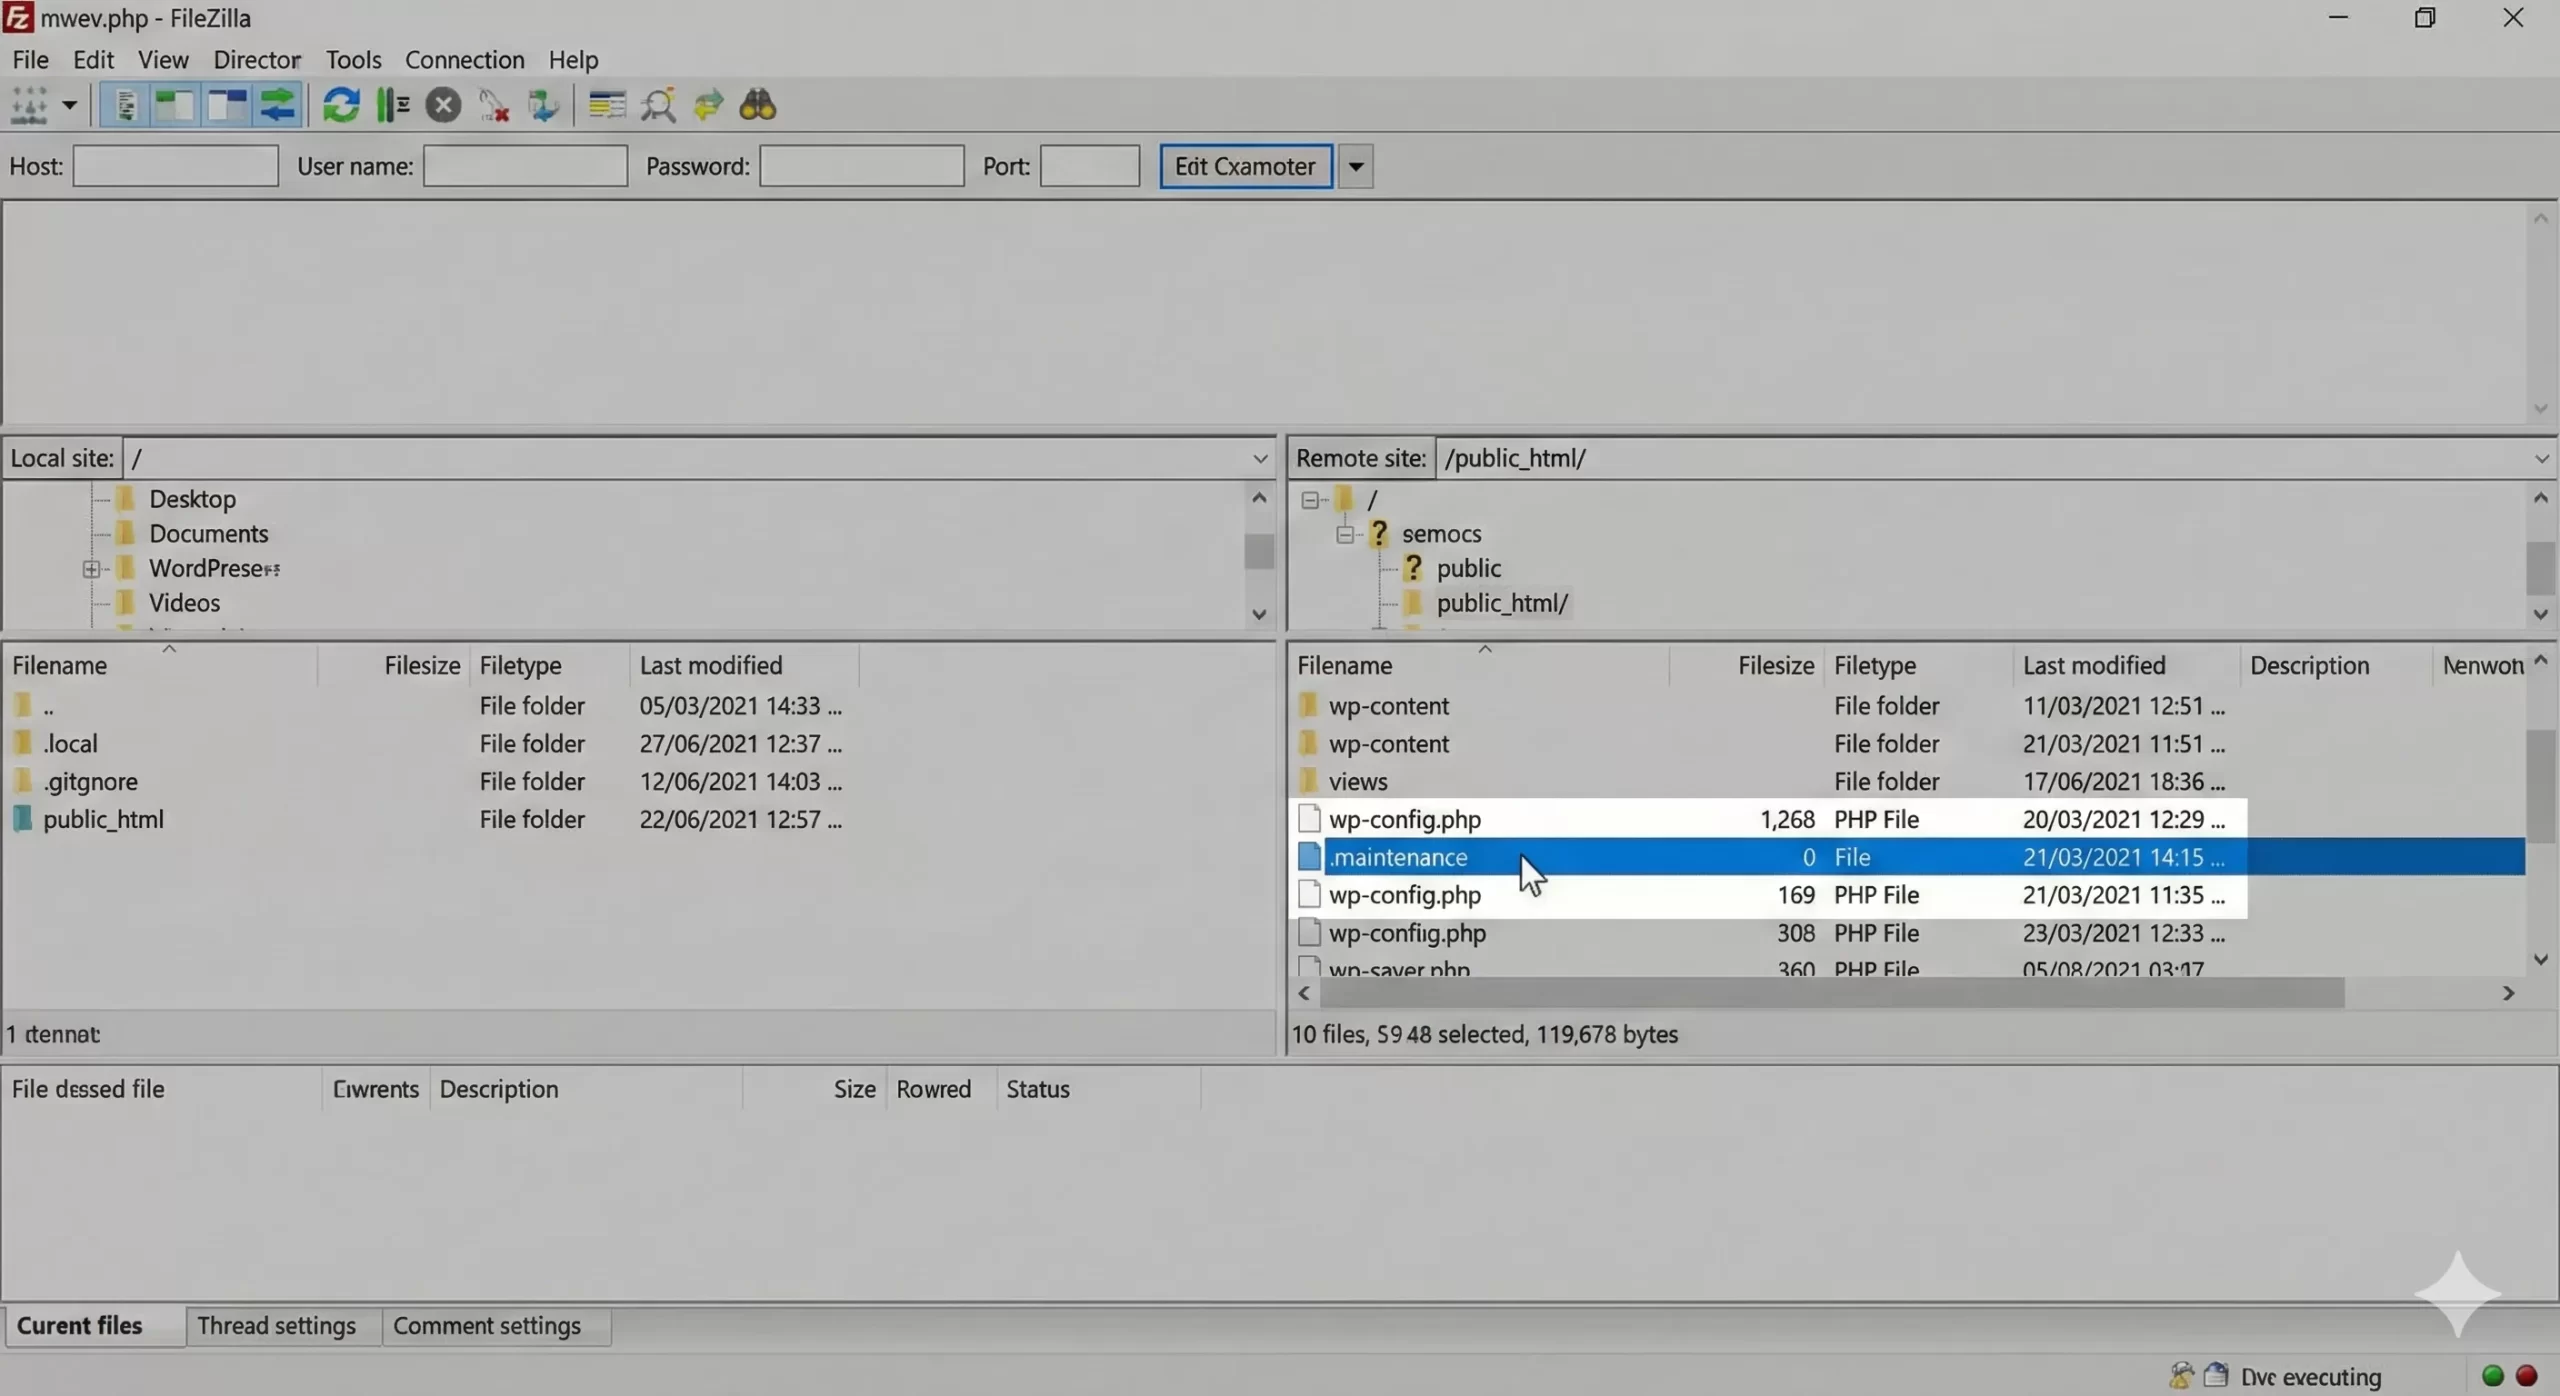
This will instantly bring your site back online. If you used the plugin method, simply go back to the plugin settings and toggle the status to “Deactivated.” If you used the code method, just remove the snippet from your functions.php file.
Conclusion
Maintaining a WordPress site requires a balance of keeping things running smoothly while ensuring you have the space to make improvements. Whether you choose the ease of a plugin or the efficiency of custom code, knowing how to properly enable WordPress maintenance mode is a skill every site owner needs.
For most beginners, the plugin route is perfectly fine. However, if you are looking to improve your site’s performance metrics and reduce dependency on third-party tools, the custom pnet_ function we shared is the superior choice. It keeps your database clean and gives you complete control over the output.