
Are you feeling severely restricted by the default layout options provided by the Elementor Pro Posts widget? Every WordPress developer eventually hits a wall where the standard “Classic”, “Cards”, or “Full Content” layouts simply do not meet a client’s highly specific UI/UX design requirements. While you could potentially try to force a design using overly complex CSS overrides or potentially confusing custom query loops, the most elegant, performant, and native solution to this common problem is building your own custom elementor skin. By implementing a custom elementor skin, you gain absolute control over the HTML structure, the dynamic PHP output, and the integrated Elementor styling controls, providing a seamless solution for both you and your end-users. In this comprehensive, highly technical guide, we will walk you through exactly how to construct, register, and seamlessly deploy a custom elementor skin from scratch without breaking your site architecture.
When you master the process of developing a custom elementor skin, you elevate your WordPress development skills from simple page building to advanced plugin architecture manipulation. A custom elementor skin acts as an extension of the core Posts widget, allowing you to inject bespoke markup while fully retaining the powerful, native querying capabilities of Elementor Pro. This means your custom elementor skin will still flawlessly utilize Elementor’s pagination, custom taxonomy filtering, and ordering logic, saving you countless hours of rebuilding native query logic. Let’s dive deep into the specific object-oriented PHP processes required to successfully instantiate a flawless custom elementor skin.
For Developers
Prerequisites for Building a Custom Elementor Skin
Before writing a single line of PHP for your custom elementor skin, you must ensure your development environment meets the stringent requirements necessary for extending Elementor Pro. Failing to meet these prerequisites can result in fatal errors when your custom elementor skin attempts to extend classes that have not yet been loaded into the WordPress memory stack.
- PHP 8.0 or higher active on your server environment.
- WordPress 6.4+ installed and running.
- Elementor Core (Free) and Elementor Pro installed and activated.
- A solid understanding of Object-Oriented Programming (OOP) in PHP.
- Full access to your site’s file system via FTP/SFTP or a local environment.
- A dedicated code editor (like VS Code or PhpStorm).
- A complete backup of your WordPress database and files.
Step 1: Setting Up the Plugin Architecture for Your Skin
While it is technically possible to insert a custom elementor skin directly into your active theme’s functions.php file, doing so violates best practices for WordPress development. A custom elementor skin represents functional logic, not merely presentational styling, meaning it should strictly reside within a custom plugin. This ensures your custom elementor skin remains active and functional even if the end-user decides to switch their WordPress theme in the future.
Creating a dedicated plugin for your custom elementor skin also prevents your theme files from becoming incredibly bloated and unmanageable. By encapsulating your custom elementor skin within its own modular directory structure, you make debugging, updating, and porting the custom elementor skin to other client projects remarkably simpler.
Creating the Custom Plugin File
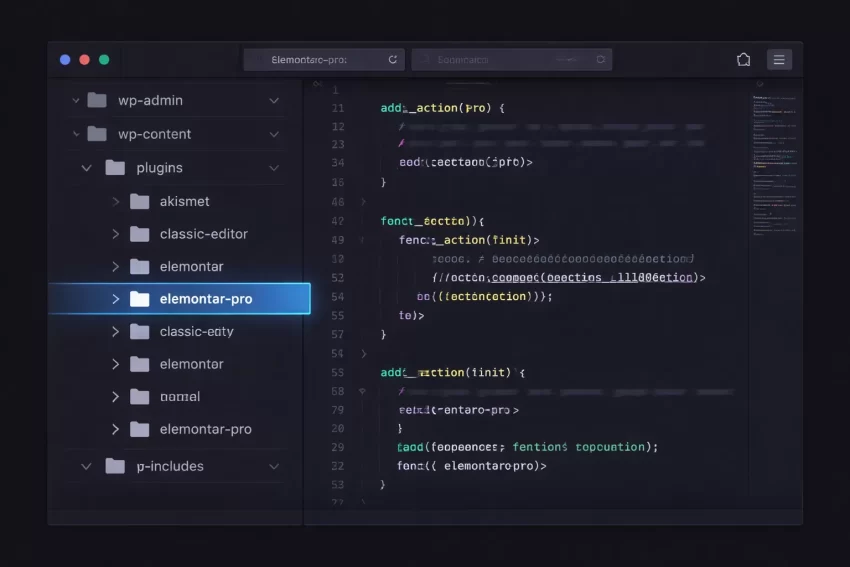
To begin the initiation of your custom elementor skin, navigate directly to your WordPress installation’s wp-content/plugins directory. Create a new folder specifically named pnet-custom-elementor-skin. Inside this newly created folder, generate a new PHP file named pnet-custom-elementor-skin.php. This file will serve as the primary bootstrap mechanism for your custom elementor skin.
Open this PHP file in your code editor and populate it with the standard, required WordPress plugin headers. These headers are strictly necessary for WordPress to recognize your custom elementor skin as a valid, executable plugin within the administrative dashboard.
<?php
/**
 * Plugin Name: PNET Custom Elementor Skin
 * Description: Registers a highly specific custom elementor skin for the Elementor Pro Posts widget.
 * Plugin URI:  https://example.com/custom-elementor-skin
 * Version:     1.0.0
 * Author:      PNET Developer
 * Text Domain: pnet-skin
 */

if ( ! defined( 'ABSPATH' ) ) {
    exit; // Prevent direct access to this custom elementor skin file.
}
Defining Plugin Constants and Security Protocols
Immediately after defining your plugin headers, it is critical to establish baseline security measures and path constants for your custom elementor skin. Preventing direct access to the PHP file ensures that malicious actors cannot execute the custom elementor skin code outside the WordPress environment. Additionally, defining path constants makes referencing additional assets (like CSS or JS files) for your custom elementor skin much cleaner.
With the foundations built, the next logical step in developing your custom elementor skin is checking if Elementor Pro is actually active before attempting to hook into its architecture. If your custom elementor skin tries to extend a class from Elementor Pro while the plugin is deactivated, it will trigger a fatal server error.
You might also like: Effortless Guide: How to Enable WordPress Maintenance Mode (Plugin vs. Code)
define( 'PNET_SKIN_PATH', plugin_dir_path( __FILE__ ) );
define( 'PNET_SKIN_URL', plugin_dir_url( __FILE__ ) );

function pnet_init_custom_elementor_skin() {
    // Check if Elementor Pro is active before loading the custom elementor skin
    if ( ! did_action( 'elementor_pro/init' ) ) {
        return;
    }

    // Require the actual class file for the custom elementor skin
    require_once PNET_SKIN_PATH . 'class-pnet-custom-skin.php';
}
add_action( 'plugins_loaded', 'pnet_init_custom_elementor_skin' );
Step 2: Registering the Custom Skin with Elementor
With the plugin shell established, we must now formally introduce our custom elementor skin to the Elementor Pro widget registry. Elementor relies heavily on an intricate system of specific action hooks to manage its extensions. To inject our custom elementor skin into the Posts widget, we must target the exact hook responsible for initializing the skins of that specific widget.
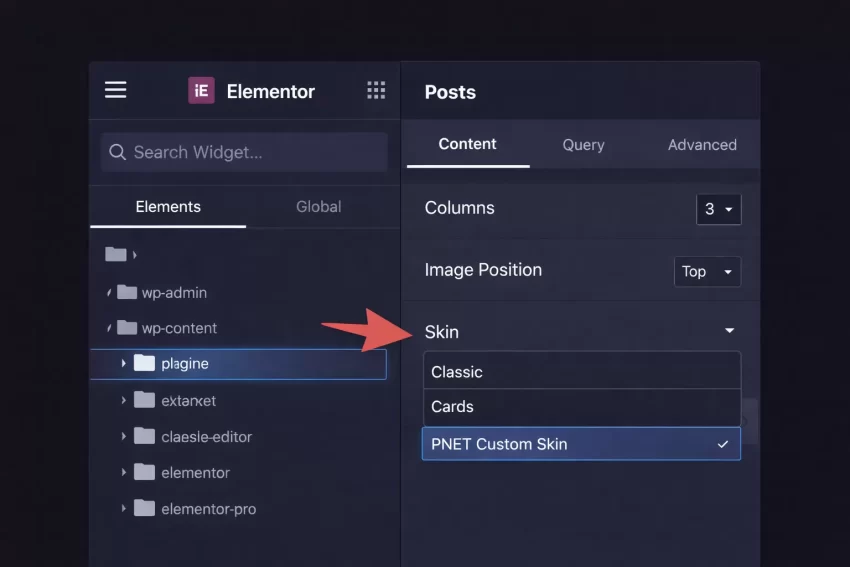
The registration of a custom elementor skin is fundamentally different from registering an entirely new widget. Instead of appearing in the Elementor elements panel, your custom elementor skin will cleanly manifest as an option within the existing “Skin” dropdown menu found inside the settings of the default Elementor Pro Posts widget.
Hooking into Elementor Element Actions
The specific hook required to attach a custom elementor skin to the Posts widget is elementor/widget/posts/skins_init. This dynamic action hook fires precisely when the Posts widget is gathering its available skins. By attaching our custom registration function to this hook, we guarantee our custom elementor skin is loaded into the widget’s internal array of available skin objects.
Understanding this hook is paramount for any developer creating a custom elementor skin. You can read more about WordPress action hooks and their execution order in the official WordPress Plugin Developer Handbook to deepen your knowledge of WordPress core behaviors.
Crucial Hook Priority
Writing the Registration Function
Let’s write the function that physically binds our custom elementor skin to the Posts widget instance. In this function, we will instantiate the PHP class that contains the logic for our custom elementor skin (which we will build in the next step) and use the add_skin() method provided by the parent widget object.
function pnet_register_custom_elementor_skin( $widget ) {
    // Instantiate our custom elementor skin class and pass the widget instance
    $custom_skin = new pnet_Posts_Skin_Custom( $widget );

    // Register the custom elementor skin with the widget
    $widget->add_skin( $custom_skin );
}
add_action( 'elementor/widget/posts/skins_init', 'pnet_register_custom_elementor_skin' );
Step 3: Creating the Skin Class Architecture
The core of your custom elementor skin relies entirely on a well-structured PHP class. This class must strictly extend the core Skin_Base abstract class provided by Elementor Pro. By extending this specific class, your custom elementor skin automatically inherits a multitude of necessary utility methods required to interact with the Elementor editor, extract widget settings, and render dynamic output.
If your custom elementor skin fails to extend Skin_Base, Elementor will completely reject the registration. The architecture of your custom elementor skin requires you to override several abstract methods, primarily the ID getter, the Title getter, and the main rendering mechanism. Let’s create the file class-pnet-custom-skin.php that we required in Step 1.
Extending the Elementor Skin_Base Class
Open class-pnet-custom-skin.php and define the class for your custom elementor skin. It is absolutely essential to utilize proper PHP namespaces here, as Elementor Pro’s base classes are heavily namespaced. Your custom elementor skin must reference the exact namespace path: \ElementorPro\Modules\Posts\Skins\Skin_Base.
For more detailed information regarding PHP class inheritance and namespaces, which are vital for a successful custom elementor skin, you can refer to the official PHP Documentation on Object Inheritance.
<?php
if ( ! defined( 'ABSPATH' ) ) {
    exit; // Exit if accessed directly
}

use ElementorPro\Modules\Posts\Skins\Skin_Base;

class pnet_Posts_Skin_Custom extends Skin_Base {

    // Methods for the custom elementor skin will be defined here

}
Defining the Skin ID and Title
Inside your newly created custom elementor skin class, you must first implement the get_id() and get_title() methods. The get_id() method returns a strict, machine-readable string that uniquely identifies your custom elementor skin within the database and code structure. The get_title() method returns the human-readable string that will be visibly displayed to the user inside the Elementor editor’s Skin dropdown.
It is vital that the ID of your custom elementor skin is completely unique. If your custom elementor skin shares an ID with a pre-existing skin (like ‘classic’ or ‘cards’), it will cause massive conflicts within the Elementor editor rendering engine.
    /**
     * Get the ID of the custom elementor skin.
     *
     * @return string
     */
    public function get_id() {
        return 'pnet_custom_layout';
    }

    /**
     * Get the title of the custom elementor skin.
     *
     * @return string
     */
    public function get_title() {
        return __( 'PNET Custom Layout', 'pnet-skin' );
    }
Did you know: Implementing a solid WordPress Plugin Dependency check prevents fatal site crashes and terrible user experiences when customers activate your custom add-on without the required parent tool installed?
Step 4: Registering Custom Controls for the Skin
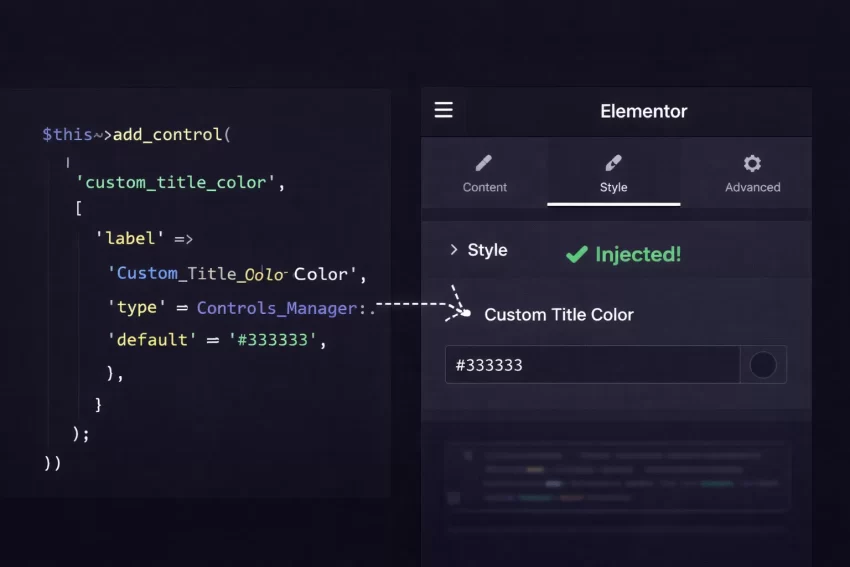
One of the most powerful aspects of building a custom elementor skin is the ability to inject your own specific controls into the Elementor editor panel. A custom elementor skin does not have to rely solely on the controls defined by the parent widget. You can add entirely new sections, toggle switches, color pickers, and typography controls that only appear when your specific custom elementor skin is actively selected by the user.
To implement this in your custom elementor skin, you must override the _register_controls_actions() method. Inside this method, you hook into specific points of the parent widget’s control registration process, allowing your custom elementor skin to gracefully insert its own styling parameters seamlessly.
Adding Section Controls to the Skin
Let’s add a custom control section specifically for our custom elementor skin. We will use the register_controls method (which we will bind via an action) to add a new color control for our post titles. Notice how we utilize the get_control_id() method. This is a critical utility method within any custom elementor skin that ensures the control ID is dynamically prefixed with the skin’s ID, preventing namespace collisions with other skins.
Pro Tip
$this->get_control_id( 'control_name' ) when creating controls in your custom elementor skin. This guarantees that your control IDs remain completely distinct and isolated from the parent widget’s native controls.
    protected function _register_controls_actions() {
        parent::_register_controls_actions();

        // Hook into the parent widget to add controls specifically for this custom elementor skin
        add_action( 'elementor/element/posts/section_layout/before_section_end', [ $this, 'pnet_register_skin_controls' ] );
    }

    public function pnet_register_skin_controls( $widget ) {
        $this->parent = $widget;

        $this->add_control(
            'pnet_custom_title_color',
            [
                'label' => __( 'Custom Title Color', 'pnet-skin' ),
                'type' => \Elementor\Controls_Manager::COLOR,
                'selectors' => [
                    '{{WRAPPER}} .pnet-custom-skin-title' => 'color: {{VALUE}};',
                ],
            ]
        );
    }
Step 5: Rendering the Output and the WordPress Loop
The ultimate purpose of any custom elementor skin is to manipulate the frontend HTML output. To achieve this, you must override the render() method within your custom elementor skin class. This method completely replaces the default loop rendering sequence of the Elementor Posts widget when your custom elementor skin is actively selected.
Inside the render() method of your custom elementor skin, you are responsible for querying the posts based on the widget settings, establishing the standard WordPress loop, outputting the necessary HTML, and properly formatting the dynamic data. A flawlessly executed custom elementor skin will maintain perfect semantic HTML and ensure all data is escaped securely.
Overriding the Render Method
Let’s construct the render() method for our custom elementor skin. We will start by retrieving the query logic from the parent widget. This ensures our custom elementor skin respects the category filters, post counts, and ordering settings the user has defined in the Elementor editor panel. Next, we will iterate through the WP_Query object and output our bespoke, highly specific HTML structure.
    public function render() {
        // Retrieve the query object from the parent widget
        $query = $this->parent->get_query();

        if ( ! $query->have_posts() ) {
            // Output a fallback if no posts exist for this custom elementor skin
            echo '<div class="pnet-no-posts">' . __( 'No posts found.', 'pnet-skin' ) . '</div>';
            return;
        }

        echo '<div class="pnet-custom-skin-grid">';

        // Standard WordPress Loop optimized for the custom elementor skin
        while ( $query->have_posts() ) {
            $query->the_post();

            // Output the customized HTML structure
            ?>
            <article id="post-<?php the_ID(); ?>" <?php post_class( 'pnet-custom-skin-item' ); ?>>
                <?php if ( has_post_thumbnail() ) : ?>
                    <div class="pnet-custom-skin-thumbnail">
                        <a href="<?php the_permalink(); ?>">
                            <?php the_post_thumbnail( 'medium' ); ?>
                        </a>
                    </div>
                <?php endif; ?>

                <div class="pnet-custom-skin-content">
                    <h3 class="pnet-custom-skin-title">
                        <a href="<?php the_permalink(); ?>"><?php the_title(); ?></a>
                    </h3>
                    <div class="pnet-custom-skin-excerpt">
                        <?php the_excerpt(); ?>
                    </div>
                </div>
            </article>
            <?php
        }

        echo '</div>';

        // Essential: Reset post data after the custom elementor skin loop completes
        wp_reset_postdata();
    }
By implementing this code, your custom elementor skin now successfully hijacks the default Elementor loop, replacing it with a tailored HTML structure specifically utilizing the classes pnet-custom-skin-grid and pnet-custom-skin-item. From here, you can target these classes with your custom CSS to finalize the visual presentation of your custom elementor skin.
Troubleshooting Common Custom Elementor Skin Errors
Developing a custom elementor skin is a highly technical process, and it is incredibly common for developers to encounter syntax or architectural errors. When your custom elementor skin fails to render or causes a critical site failure, it usually stems from a handful of highly predictable misconfigurations. Here is a guide to resolving the most common issues associated with a broken custom elementor skin.
Common Errors and Solutions
Fatal Error: Class ‘Skin_Base’ not found. This catastrophic error occurs when your custom elementor skin attempts to extend the base class before Elementor Pro has actually loaded it into memory. Ensure you are wrapping your custom elementor skin initialization within the plugins_loaded action hook and rigorously checking if the elementor_pro/init action has fired, as demonstrated in Step 1 of this guide.
The custom elementor skin does not appear in the dropdown menu. If your custom elementor skin simply refuses to show up as a selectable option in the editor, double-check your action hook. You must hook into elementor/widget/posts/skins_init. Furthermore, ensure your custom elementor skin’s get_id() method returns a perfectly unique string without any spaces or special characters.
Backup Required
Custom controls are not applying styles. If you successfully added custom controls to your custom elementor skin, but altering them does not change the frontend appearance, you likely have an error in your CSS selectors array within the add_control method. Ensure you are using the {{WRAPPER}} dynamic tag correctly and that your target CSS classes (e.g., .pnet-custom-skin-title) precisely match the HTML structure generated within the render() method of your custom elementor skin.
Summary and Conclusion
Overcoming the structural limitations of native widgets by implementing a custom elementor skin is a definitive hallmark of an advanced WordPress developer. As we have exhaustively demonstrated throughout this technical guide, stepping outside the boundaries of default layouts allows you to deliver highly optimized, client-specific architectural designs without sacrificing the robust querying and filtering engines inherent to Elementor Pro.
By carefully constructing a dedicated plugin, properly hooking into the skins_init action, meticulously extending the Skin_Base class, and precisely managing the WordPress loop within the render method, your new custom elementor skin operates as a flawless, native extension of the platform. Remember to always prioritize clean object-oriented PHP and secure data escaping whenever you deploy a custom elementor skin to a live production environment. Happy coding!